
Almond Dream Delights
No-bake (raw) almond yumminess molded in any shape you desire! Easy to make and such a delight to eat!
This is the week for creating chocolate treats in my test kitchen! And, oh my, this has been such a tasty week already! I challenged myself to create peanut-free yummy treats with a minimum of added sugar of any type.
Did you know that it's so easy to make your own chocolate delights? I made five different kinds in just one evening! And best of all, they tasted just as good as they looked! I'm calling this batch Almond Dream Delights. The creamy, truffle-like filling is enrobed in a rich, dark chocolate. The chocolate layer has that awesome snap when you take a bite! Positively dreamy to eat! But what if you're a peanut butter lover? This recipe should work just fine, but please let me know if you give it a go! Do you have a nut-free kitchen? I'm going to test a variation with soy nut butter soon. Although I've molded these chocolate treats into an egg shape, you could use any shape of mold suitable for chocolate making. Don't have a mold? No problem! The filling can be shaped by hand into a ball or egg-shape and then dipped into melted chocolate! 
Showing the 3 main steps!
Silicone molds and baking cups make it easy to make professional-looking chocolate treats. The photo above shows the treats at three different stages in the making. Near the bottom of the photo the empty cavities of the mold have been filled with the first layer of chocolate. This layer forms the top of the chocolate treats. The next five cavities show the filling in place. Then at the top of the photo the final layer of chocolate has been added to the treats. The next step would be to place the mold in the fridge to cool and harden the chocolate. That's it! 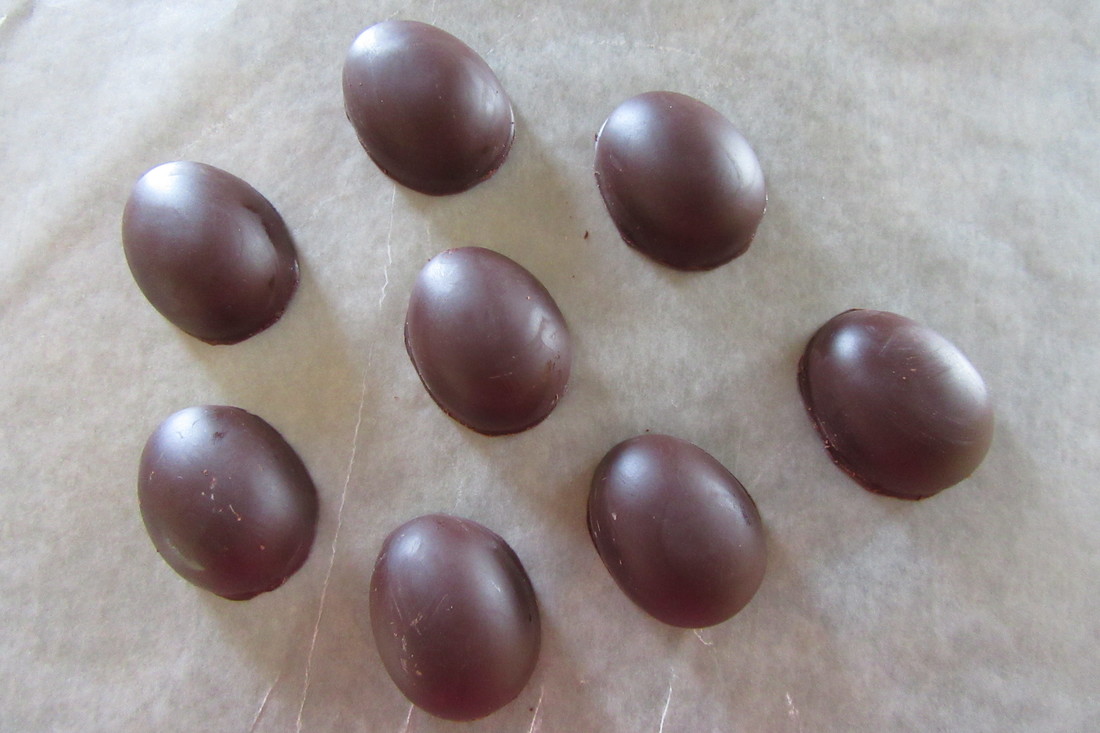
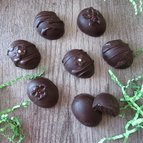
Just out of the mold!
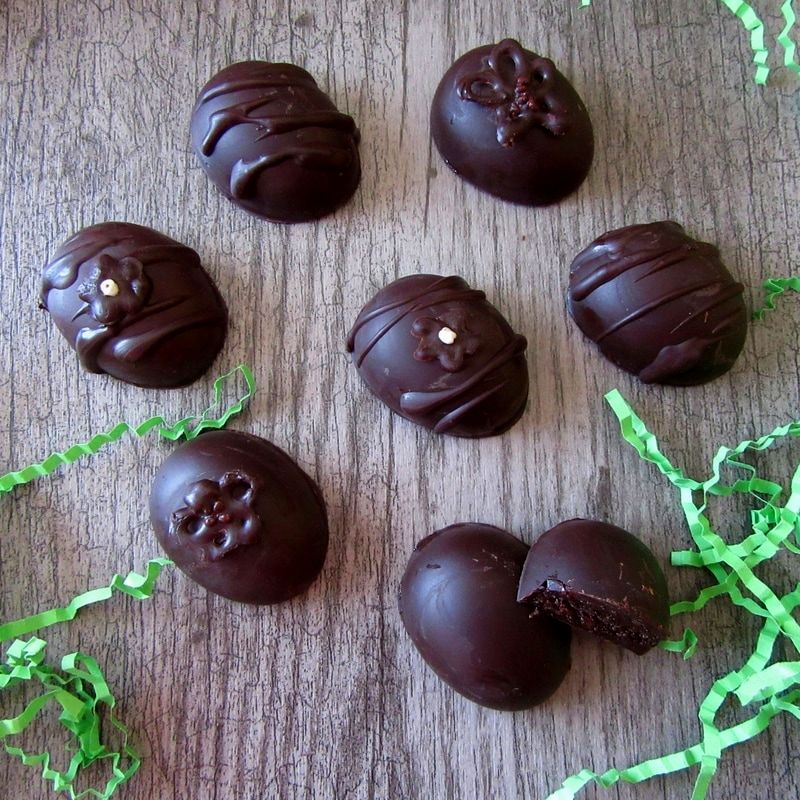
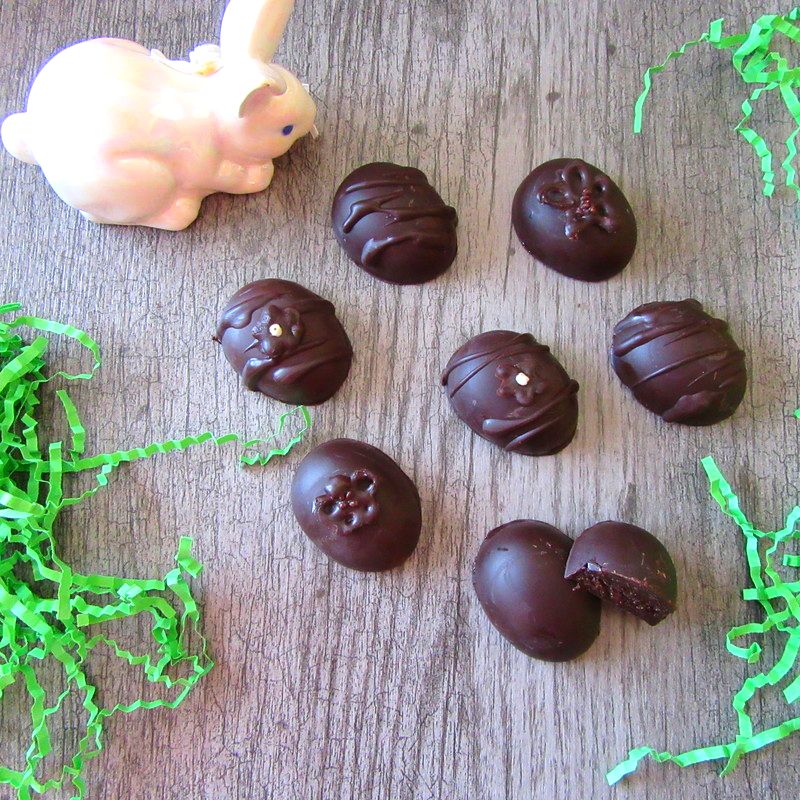
The filled chocolate treats unmold so easily! You may eat one immediately if you can't wait any longer! They may also be garnished if you wish. In the introductory photos I showed some examples of what you may do with just a drizzle of melted chocolate. 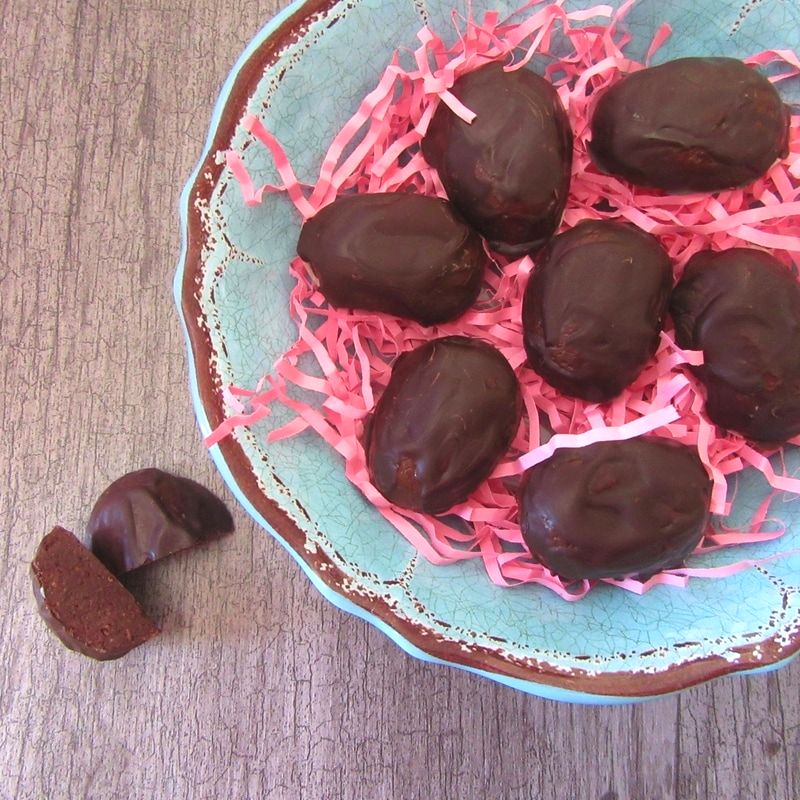
Hand-Dipped Chocolate Treats
The filling is stiff like cookie dough, so you may also shape it into a ball or egg shape by hand. Let cool in the refrigerator a few minutes before shaping to make the process a little easier. In the photo above some of the shaped treats were dipped in melted chocolate. Whichever method you choose, these treats will be YUMMY!
ALMOND DREAM DELIGHTS
No-bake (raw) almond yumminess molded in any shape you desire! Easy to make and such a delight to eat! AUTHOR: Beverley Noseworthy MEAL: Dessert, snack DIETARY INFO: FODMAP friendly, gluten free, peanut free, vegan MAKES: 12 treats INGREDIENTS FOR THE TOP CHOCOLATE COATING
FOR THE ALMOND FILLING
FOR THE BOTTOM CHOCOLATE COATING AND GARNISHING
SUGGESTED GARNISHES (Optional)
METHOD TO MAKE THE TOP CHOCOLATE COATING 1. Place 1 ounce of chocolate in a microwaveable bowl. Microwave on high for 30 seconds, and then in 10 second intervals if necessary, until chocolate is almost, but not completely melted. Then stir the chocolate until it has completely melted. (Or use another recommended method to melt the chocolate.) 2. Place a teaspoon or so of melted chocolate in each cavity of a silicone mold** and tilt it so that the melted chocolate coats each cavity completely. You could also use a small spoon to coat each cavity. Place the mold in the refrigerator to cool. TO MAKE THE ALMOND FILLING 1. If the almond butter is firm, soften it by heating and stirring it in a small saucepan for a few minutes. 2. In a medium bowl, add the almond butter along with the cocoa and salt. Stir to combine. 3. Add the maple syrup and vanilla extract to the almond butter mixture and stir well to combine. 5. *Then add a tablespoon of unsweetened almond milk and stir well. Add more if needed to help combine the mixture. 6. Remove mold from the fridge and spoon the almond filling into each chocolate-coated cavity. Pat down the mixture to almost fill each cavity, leaving space for the chocolate coating which you will add next. TO MAKE THE BOTTOM CHOCOLATE COATING AND GARNISHING 1. Place 1/2 ounce of chocolate in a microwaveable bowl. Microwave on high for 30 seconds, and then in 10 second intervals if necessary, until chocolate is almost, but NOT completely melted. Stir until chocolate is completely melted. 2. Spoon melted chocolate on top of the filling in each cavity of the silicone mold. Use the edge of a knife or scraper to scrape off any excess. Place in the refrigerator for a few minutes to harden. 3. Prepare the garnishes if you wish to add any. To prepare the chocolate for drizzling, spoon melted chocolate into a paper cone or small plastic bag and cut off a small tip. Make small designs and/or chocolate daisies by piping melted chocolate on a piece of parchment or waxed paper. Place in the fridge to cool. 4. Remove chocolate treats from the fridge and gently unmold each one unto a cookie sheet topped with a piece of parchment or waxed paper. 5. Drizzle on the chocolate garnish, if using. Add chocolate daisies with a dab of melted chocolate to hold them in place. Serve immediately or place in a covered container in the fridge for up to 3 days. COOKING TIPS
PER SERVING (One chocolate-coated almond treat) Calories: 72 Carbohydrate: 5 g Fibre: 2 g Sugars 3 g Fat: 6 g Protein: 2 g Want to print and share this recipe? Simply click on the buttons below!
Have you tried this recipe? I'd love to hear about it!
2 Comments
Beverley
7/13/2023 05:16:37 pm
I'm glad you enjoyed it! Leave a Reply. |
My kitchen is rockin' with recipes old and new!
Click to connect!

Hi there!
Thanks for joining me in my kitchen! Check out my blog posts to find out about the tasty delights I've been whipping up lately! Warmly, 
 Categories
All
You may also like to...
See what's in the pantry.

Search the recipe box.
Visit my studio page.
Archives
April 2017
|
 RSS Feed